I love my Chromebook!! Chromebooks used to be known for their complete simplicity both in use and features. I mean the first Chromebooks were basically just browsers to surf the Internet. While you could get some work done with the first Chromebooks, it typically required an Internet connection at all times since the apps you used were on the cloud. Then came along the ability to use Android apps on Chromebooks which was amazing! But even then, the laptops were still limited to what APIs were available to Android Developers. But finally, Google added the ability to use Linux Apps on a Chromebook under project Crostini which means developers could actually use their local machine to write and test code.
Another great thing about Chromebooks is that they automatically update themselves. This is great since one of the biggest security issues is that vendors will create patches for their products but then the user will just not update their device or keep hitting update later. Chromebooks just do it for you! However when it comes to Linux on Chromebook, you still have to update things yourself. It’s not hard and just requires a little bit of work with your Linux terminal.
Now before we begin, I do want to note that there still are some limitations with Linux on Chromebooks. For example, not all USB devices will work properly. I know I have heard of some people having issues using Bluetooth devices as well. Also if you want to use Android Studio, you will need to meet certain system requirements. If you are in the market to buy a Chromebook, I recommend staying away from the low-end devices. You still don’t have to spend that much money to get a great device, I purchased mine for $499 and love it!
Installing Linux on Chrome OS
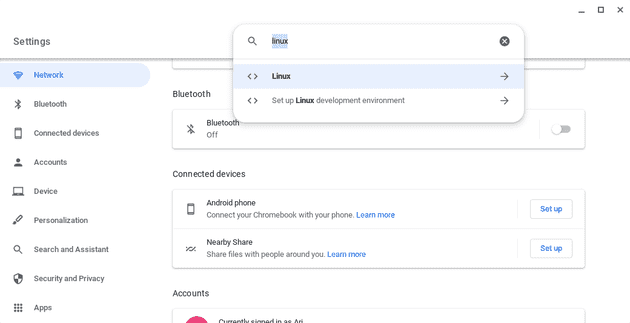
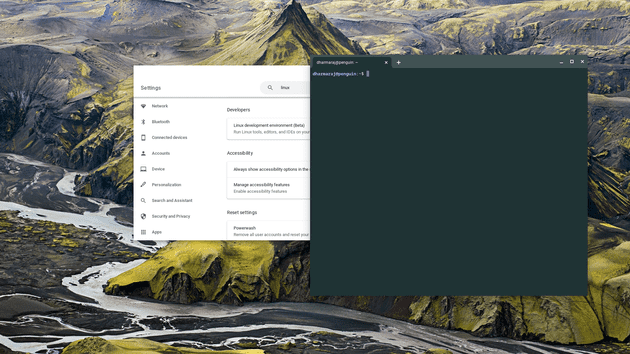
Installing Linux on Chrome OS is not difficult. Just make sure you have a strong Internet connection before you begin. First open your settings app on you Chromebook and type in Linux.
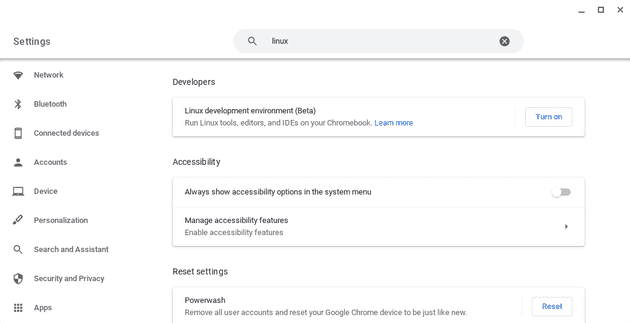
Then select “Turn on” under Linux development environment.
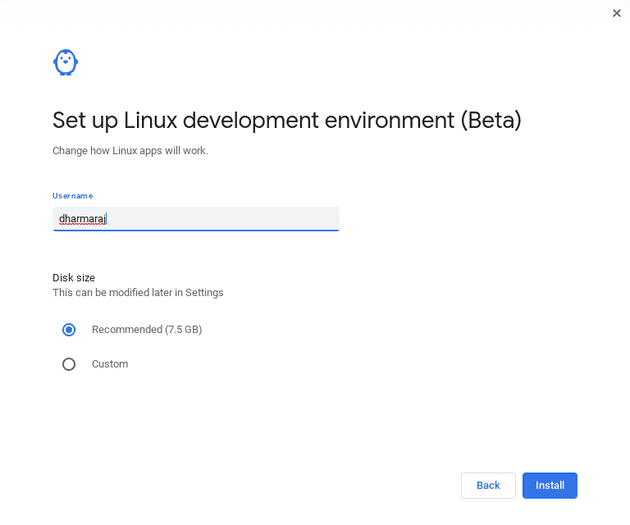
A new window will pop up, just select next and you will come to the setup page. There you can change your Linux username if you like and how big you would like your Linux disk size to be. For most people, you can probably just leave these as the defaults. You don’t necessarily want to make your disk size huge so that it takes up your entire Chromebook’s storage but obviously you will need enough for all your apps. If you select the wrong size, don’t worry, you can always come back and change it later.
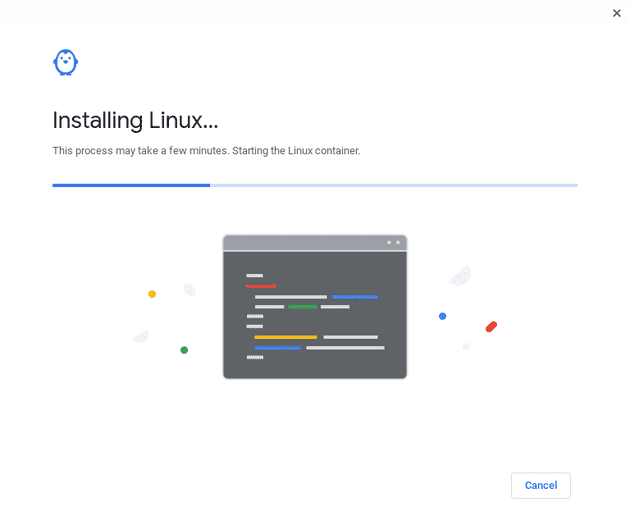
Hit next and you will see a screen like this:
Basically what is happening is your Chromebook is downloading a Debian Linux virtual machine to run inside Chrome OS. The main advantage of that is if you download a virus in Linux, that virus will not affect your Chromebook. If that were to happen, you could just run an anti-virus for Linux or just go back to your Chromebook’s settings and select “Remove” under Linux development environment and start this process over again.
This install process might take a few minutes depending on your Internet speed but you will know you are done when a Linux terminal pops up.
Updating Linux Packages on Chrome OS
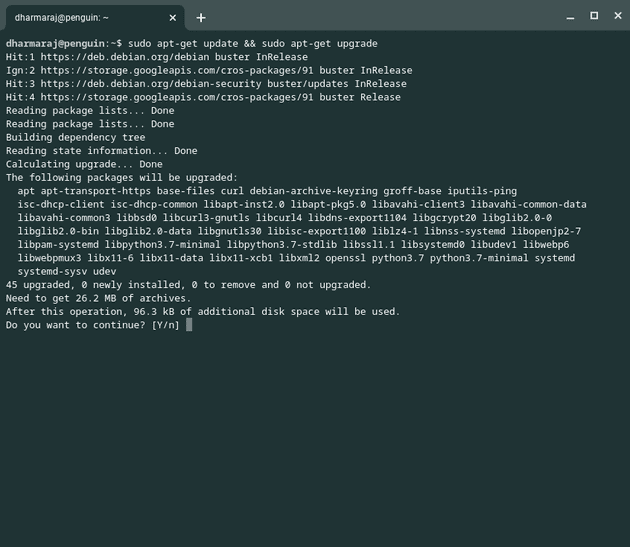
Now to update your Linux packages on Chrome OS, you just have to learn a little bit of Bash. You will input the following into the terminal and hit enter:
sudo apt-get update && sudo apt-get upgradeThis will produce something like:
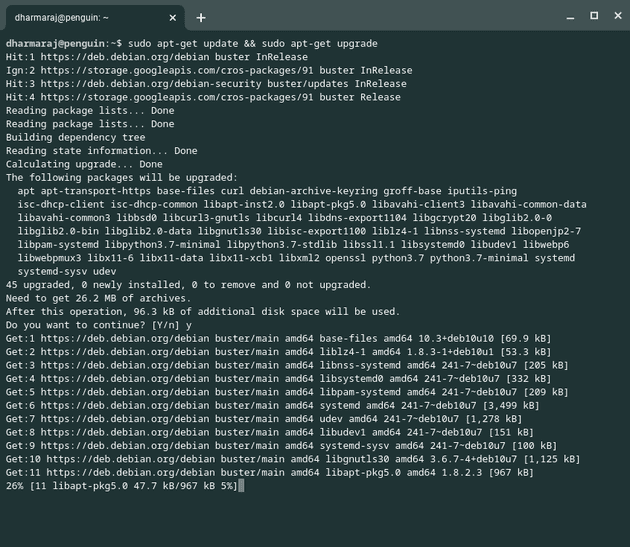
Typically you can just type “Y” and enter to go ahead and update things but obviously, you know your Chromebook best! To understand that bash script, basically what sudo apt-get update does is fetch the latest list of available packages from the repositories for your Linux OS. What sudo apt-get upgrade does is upgrade/install the new version of the package when it is available. After typing “Y” and enter, you will get a screen like this:
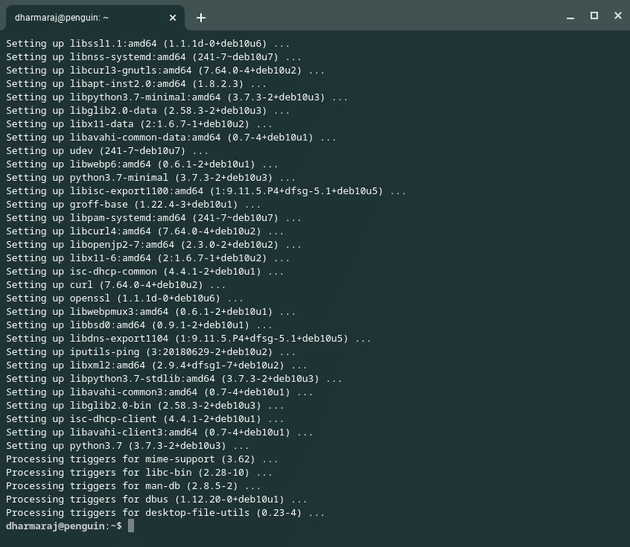
And you will know it is done when you see your cursor return in the terminal which looks like this:
So just remember to run sudo apt-get update && sudo apt-get upgrade every so often in your Linux terminal to keep things up to date.
A few bonus tips for Linux on Chrome OS
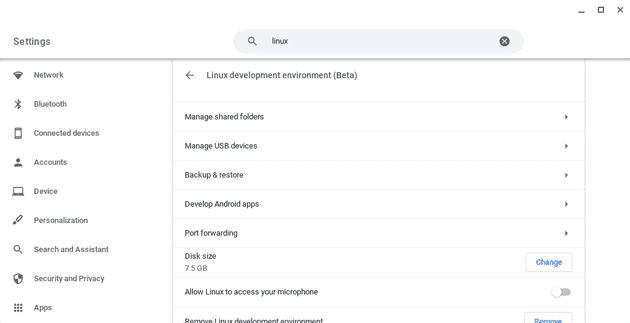
I mentioned that USB devices don’t always work properly with Linux on Chrome OS. Well to even give it a fighting chance, you will need to make sure to allow Linux to access your USB device. In your Chromebook’s settings app and under Linux development environment, you will want to select “Manage USB devices”.
After that you can select which devices you want Linux to have access to. Just a warning, if you remove the device or restart your Chromebook, you will have to come back here each time to give Linux permission to access that USB device. You might also want to check out the other settings available for your Linux installation such as changing the disk size. You can also give Linux access to certain shared folders that live inside your normal Chrome OS installation. Backing up your Linux installation regularly is a good idea so that if you ever get a virus in Linux and choose to go the wipe your Linux and reinstall it route, you don’t have to really start from zero.
Finally, you might want to Google some more advanced tips on using Linux on Chrome OS. There are ways to run multiple Linux virtual machines on your device and not all of them have to be the same boring Debian image. You can even learn how to give your main Chrome OS access to a server running in Linux which can make web development a lot easier.

